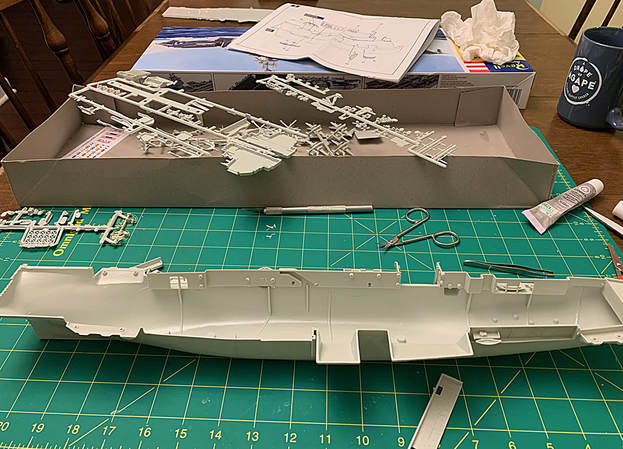
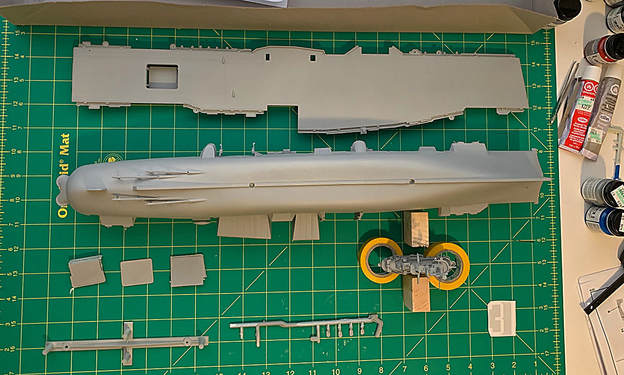
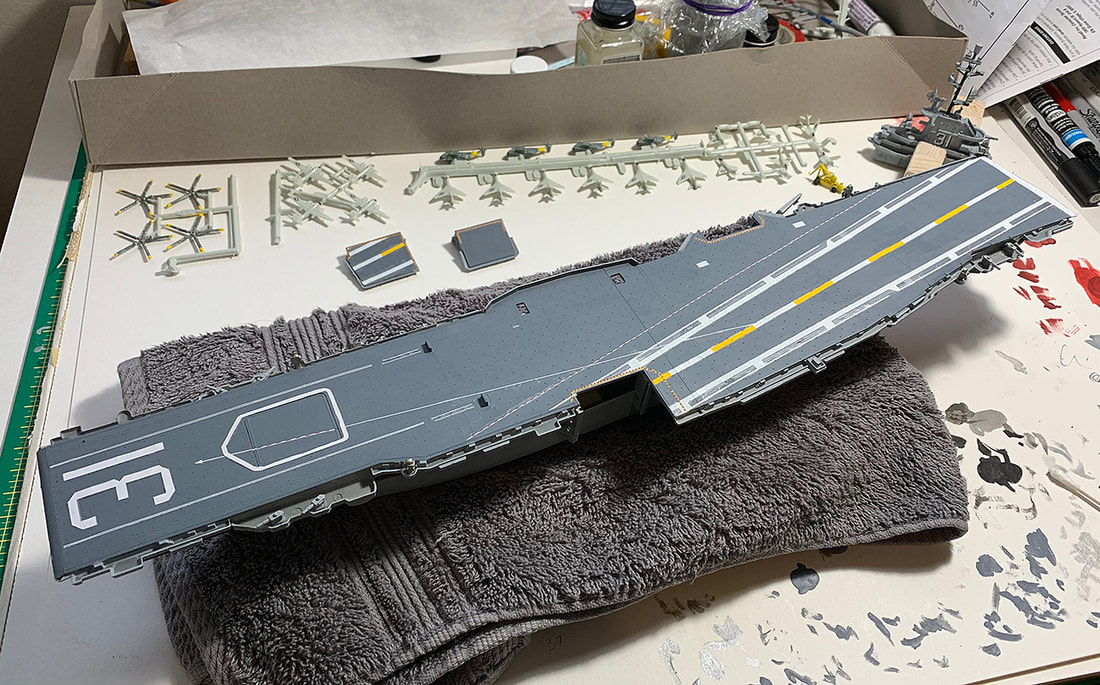
This is part 2 of the story - see part 1 for the backstory of why I built this in the first place. The first step was to get everything out of the box and inspect. Then I did a thorough reading of the instructions and formulated my plan for proceeding. I wasn't building the Oriskany, I was using this as the base, and building the Bon Homme Richard as she appeared in the 60's, so I always had reference photos at hand to make sure I stuck as closely to that goal as possible. The lower part of the hull came in one large piece, but a lot of the upper portion needed to be put together and then attached (platforms, lifeboats, elevator guides, etc.). Nearly everything had some extra flashing (plastic overflow from the injection molding process) around them so each piece had to be carefully trimmed with an X-acto blade before gluing and attaching. That definitely made things a bit more time consuming.
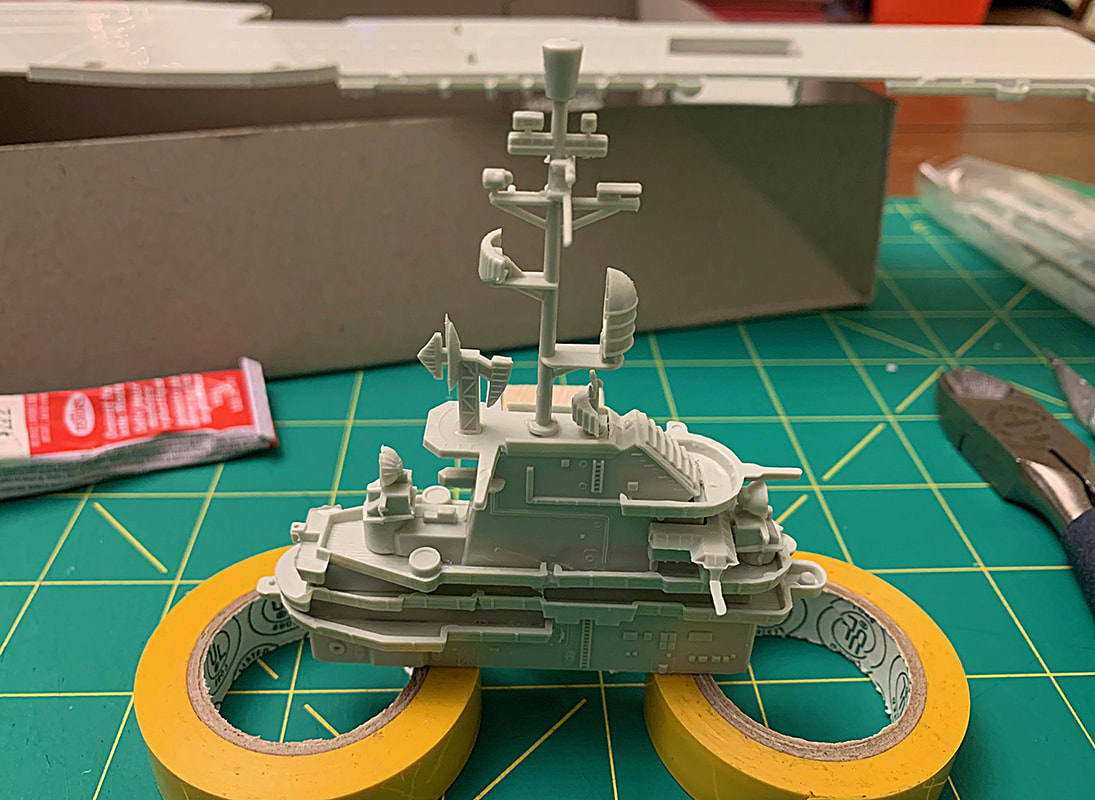
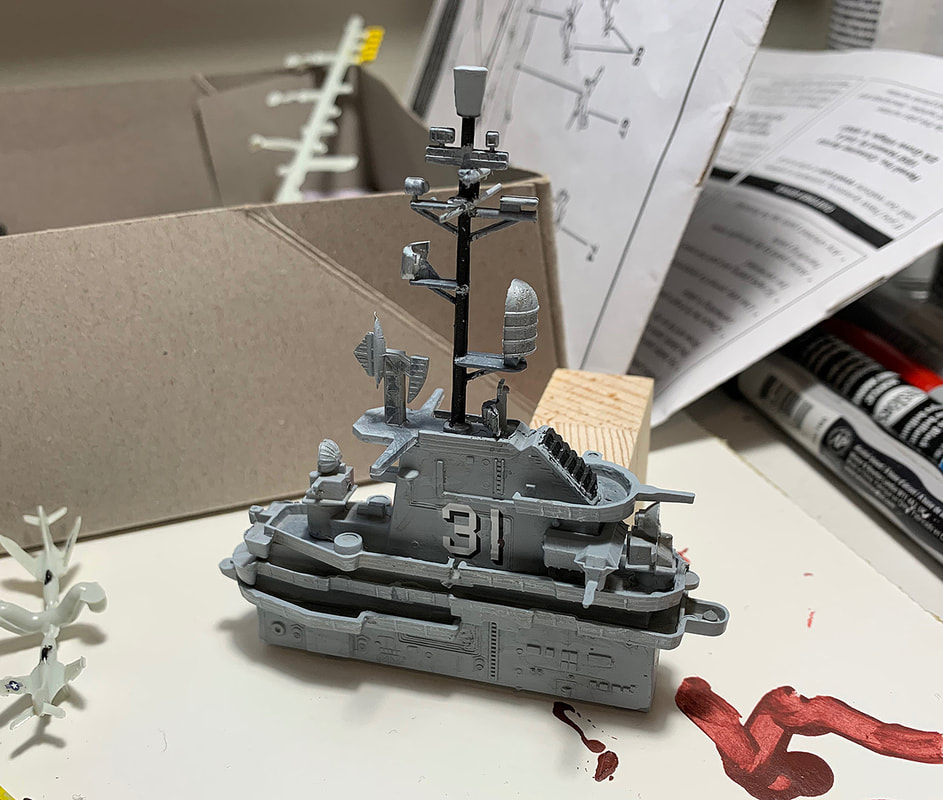
Next I trimmed out the deck and set that aside. Then I built the control tower which had a lot of very delicate pieces so I set that aside until nearly the end of the build to avoid anything getting broken off or damaged.
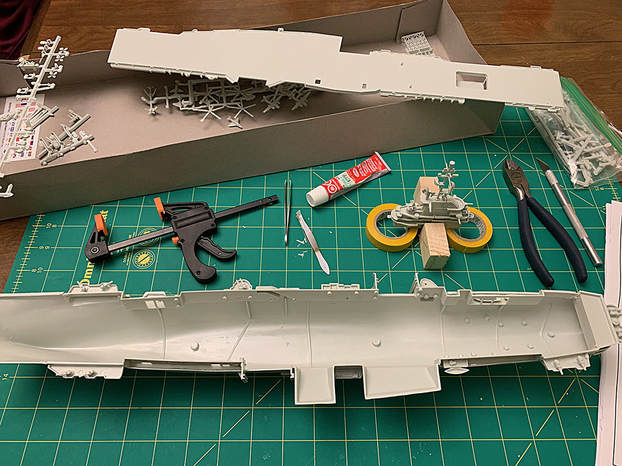 |  |
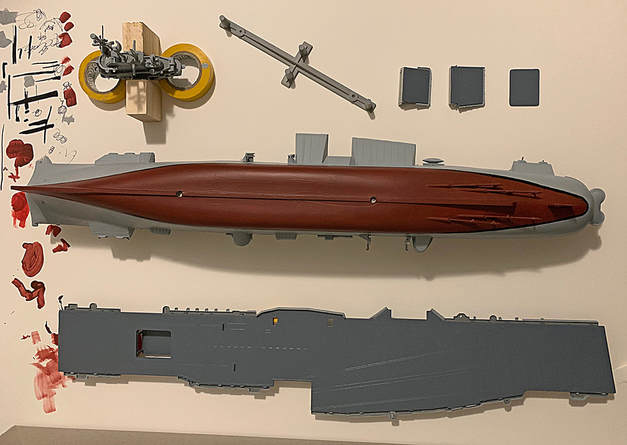
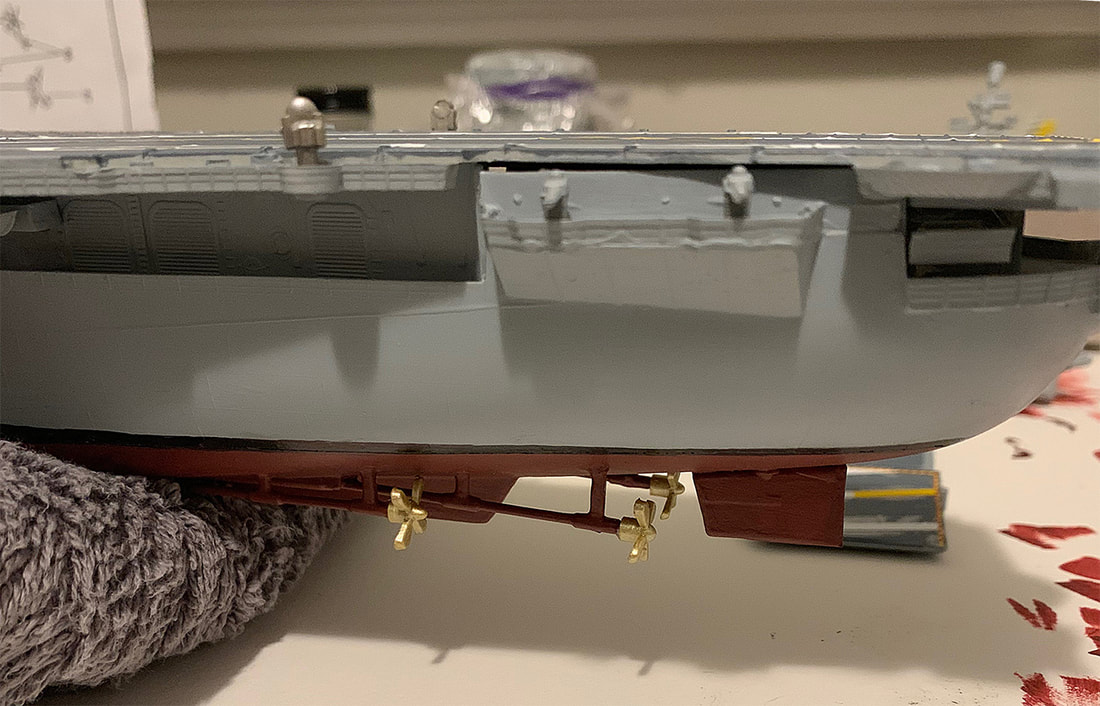
Next I attached the rudder to the hull and rigging for the propellers. I had also completed the assembly for the 3 elevators. Next I laid everything out and gave it all a couple coats of gray primer to get it ready for painting.
Once the primer dried I mixed up a lighter grey with a few drips of other colors for that Navy ship at sea look (my own proprietary blend), and painted the hull, tower, and various other parts. I then gave the deck and elevator surfaces a few coats of dark gray. Once the hull was good and dry, I masked off the bottom and mixed up the red-ish color for the bottom of the hull (again my own blend). I made sure to mix enough to have plenty left over should I need to repaint anything due to a mistake later. I should note, I used brushes for everything except the primer (for that I used a rattle spray can). Sadly, I don't own an airbrush. Lastly for this step, I gave the deck and elevator surfaces a few coats of glossy topcoat (also from a rattle spray can) so that the decals would have a nice surface to lay down on later.
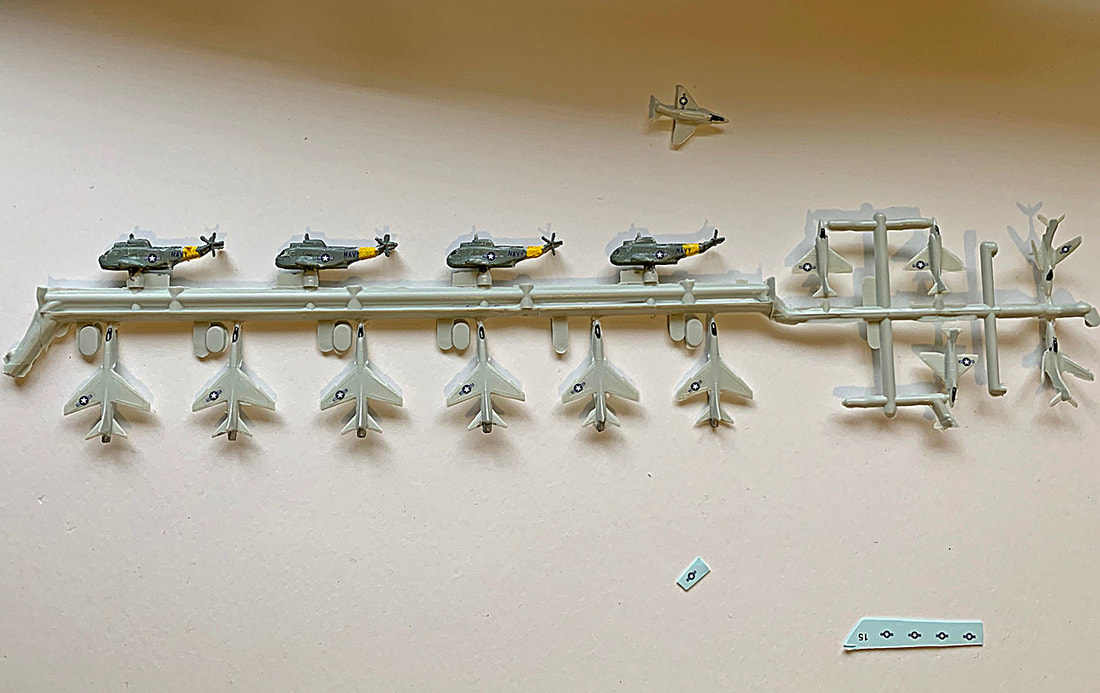
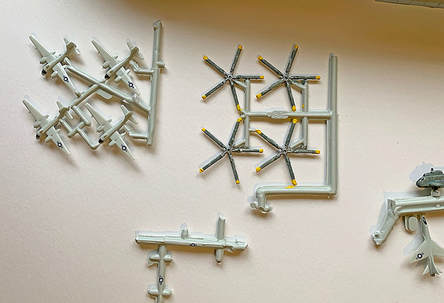
Next up I set to work on the aircraft. I lucked out because the provided A4 Skyhawk, C1A Trader, SH-2 Seasprite, and F8 Crusader, all would have been present on the Bon Homme Richard during the 60's. I left everything on the sprue for now. I painted some detail work on the planes (the cockpit glass, engines, etc. but the base color of light gray was already pretty close to what I was after. For the helicopters I mixed up that green-ish color and yellow for the tail section as in reference photos I had, and a few touches of metallic steel here and there. I then began the tedious task of putting on the ridiculously small decals.
The decals were of course the "water slide" type - my arch nemesis in model building. I have a bit of a love/hate relationship with water transfer decals. For those that don't know, water decals are applied by cutting them out, soaking them in water until the adhesive loosens from the backing, and then carefully slid onto the application surface. The upside is that when done correctly, they have the appearance of being painted on and are virtually seamless (no visible edges). The downside is that they are very tricky to do correctly, and require a lot of experience to get proficient with them (at least in my opinion). They can rip, come off easliy later on, and just look shabby if not done properly. Scale model experts and bloggers have written very lengthy posts on the subject. I am by no means an expert, I just do what works for my needs at the time. For this model build, I used a solution similar to white vinegar, to prep this surface where the decal would be applied. This gave me a bit more time to position the decal correctly by allowing it to slide around easier and less prone to tearing. I then used some water diluted testor's top-coat (dull) help stick the decal to the surface more thoroughly (it helps it to settle into the imperfections of the surface better). After they dried completely I went over the entire surface with the dull topcoat again (not diluted) 2-3 coats to lock everything in.
The decals were of course the "water slide" type - my arch nemesis in model building. I have a bit of a love/hate relationship with water transfer decals. For those that don't know, water decals are applied by cutting them out, soaking them in water until the adhesive loosens from the backing, and then carefully slid onto the application surface. The upside is that when done correctly, they have the appearance of being painted on and are virtually seamless (no visible edges). The downside is that they are very tricky to do correctly, and require a lot of experience to get proficient with them (at least in my opinion). They can rip, come off easliy later on, and just look shabby if not done properly. Scale model experts and bloggers have written very lengthy posts on the subject. I am by no means an expert, I just do what works for my needs at the time. For this model build, I used a solution similar to white vinegar, to prep this surface where the decal would be applied. This gave me a bit more time to position the decal correctly by allowing it to slide around easier and less prone to tearing. I then used some water diluted testor's top-coat (dull) help stick the decal to the surface more thoroughly (it helps it to settle into the imperfections of the surface better). After they dried completely I went over the entire surface with the dull topcoat again (not diluted) 2-3 coats to lock everything in.
 |  |
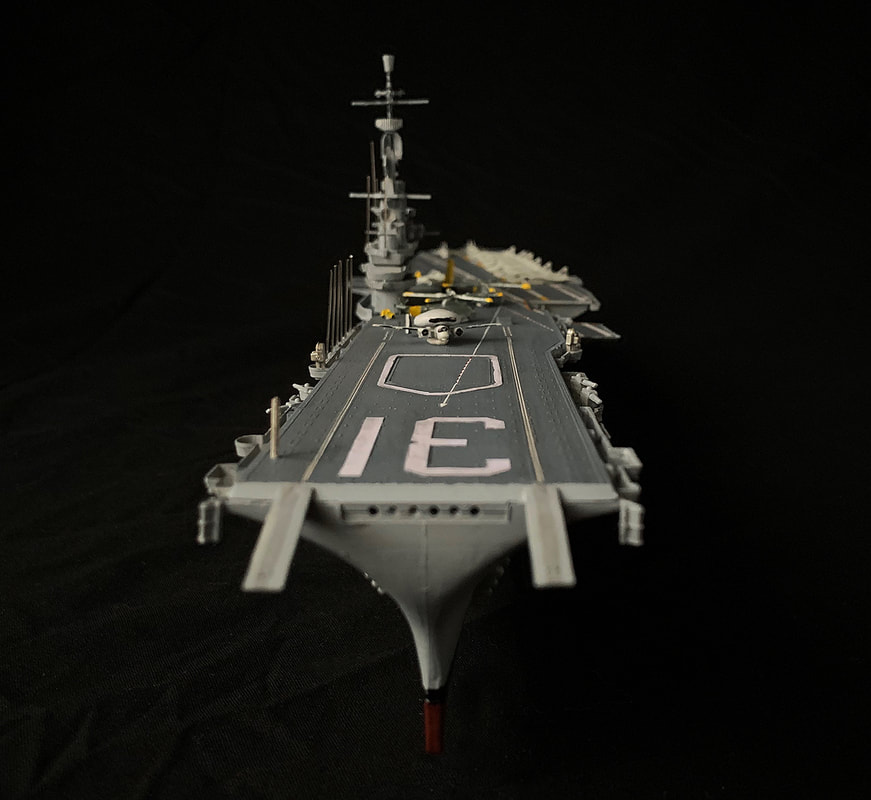
Next, I applied the decals to the surface of the deck following the same method described in the previous step. I took my time with these as they covered the most surface and set the tone for the carrier's overall look. I made my own decals for the outline of the top elevator and deck numbers. For the tower, I used the supplied decal, but modified the 4 to be a 1 instead. Again, using various reference photos of CVA-31, I applied these to match as closely as I could, making a few other modifications here and there. When I was happy with the result, I sealed everything in with with a few brushed on coats of dull topcoat and allowed it to dry thoroughly.
While I waited for the topcoat to dry on the deck, I painted the black stripe around the waterline of the hull (where the red meets the gray colors), and the brass color for the propellers. I also did some detail work to the control tower and got ready to attach that to the deck.
 |  |
Once all that had a chance to dry thoroughly, I put on the 2 side elevators and attached the control tower to the deck.
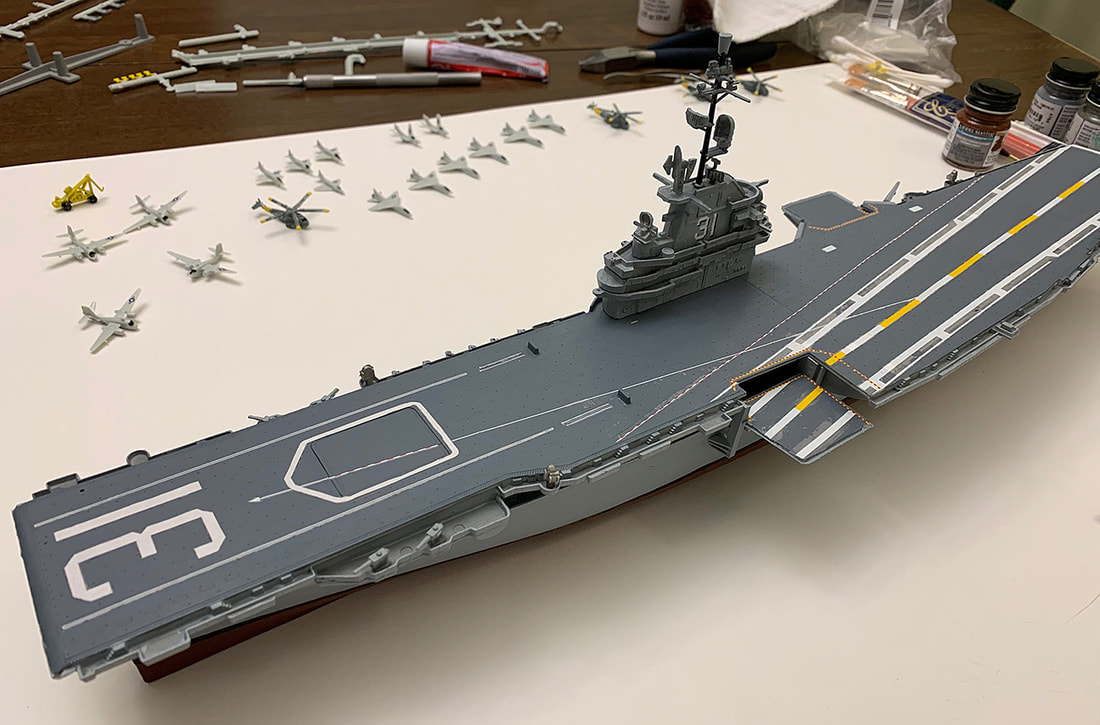
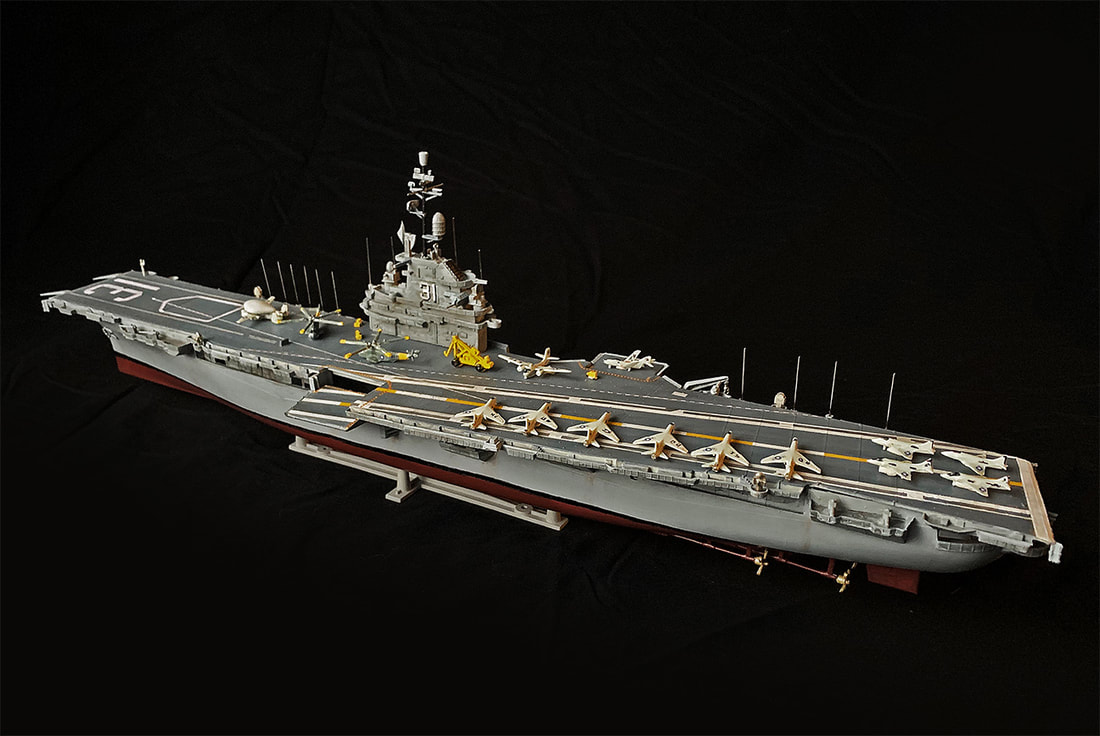
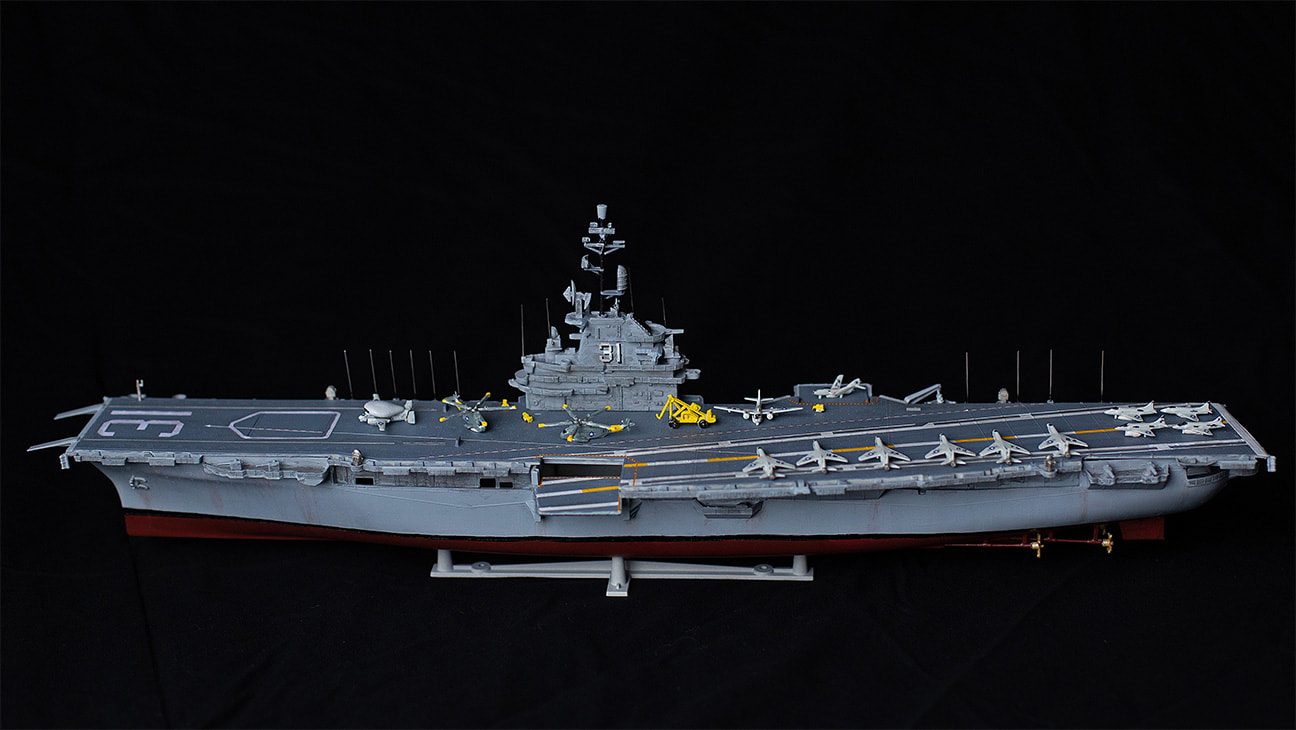
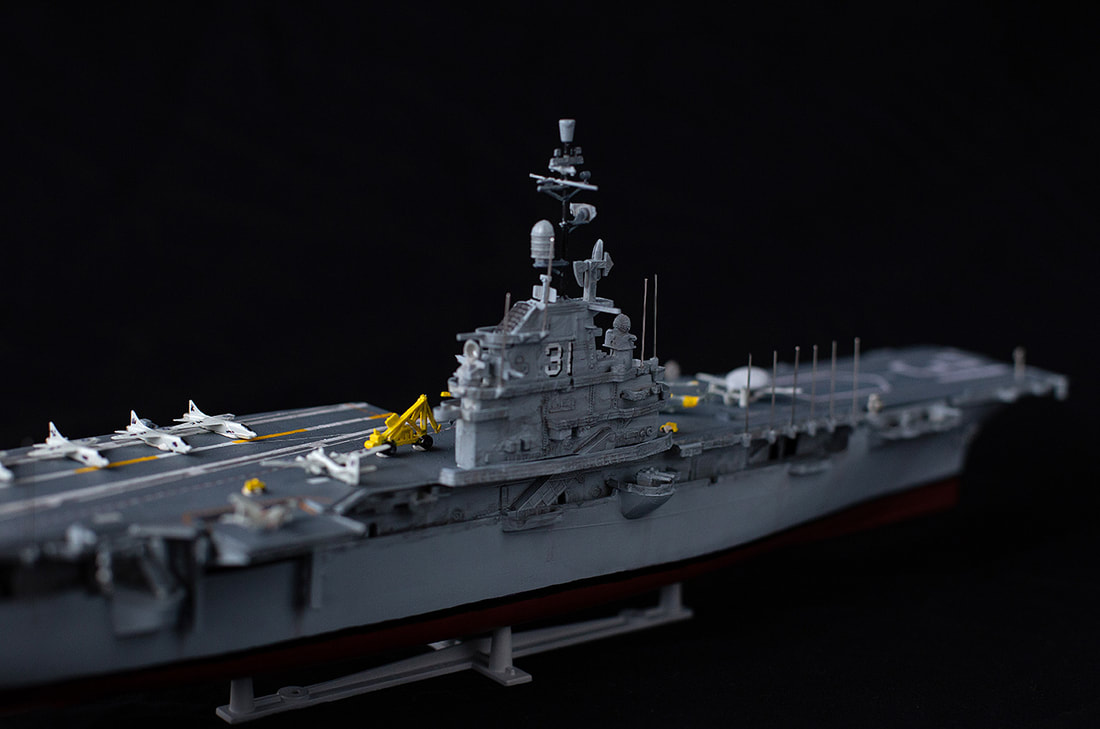
Next I attached the remaining detail pieces like the front mandibles, and the rigging around the deck and control tower. For the rigging, I used small stick-pins with the head snipped off. Then I painted the weathering details. I added some shadowing effects to help details stand out in recessed areas, darkened areas of the deck to give it a worn effect, and painted some rust and streaking effects around the hull. Lastly I added the aircraft and vehicles to the deck. I used a small bit of poster gum on everything so it could be placed and stay put, but also removed and repositioned as desired. When I was satisfied with all the detail work, I then enlisted the help of my talented photographer wife to set up a photoshoot. Below are some of those final shots. Thanks for reading! If you haven't yet, please read part 1 which describes why I chose to build this model in the first place.
 |  |